Hands-Off Oven Baked Rice: Effortless Fluffy Rice Every Time
Tired of the constant vigilance required for stovetop rice? The fear of sticky, burnt bottoms or undercooked grains? What if we told you there’s a truly hands-off method that guarantees perfectly fluffy, tender rice, every single time? Enter
oven baked rice – a culinary game-changer that eliminates guesswork and frees up your stovetop for other delicious endeavors. This foolproof technique leverages the consistent heat of your oven to steam rice to perfection, making it an ideal side dish for any meal, from weeknight dinners to special occasions.
Rice, a global staple, holds a place of honor in countless cuisines. From the rich, savory dishes of Southern Low Country cooking to the vibrant flavors of Creole and Cajun fare, rice is often the comforting foundation. Historically, rice cultivation in the United States thrived in the Gulf and South Atlantic states, with Arkansas now leading the nation in production. Across cultures and continents, it’s a versatile grain that complements everything. Yet, for all its widespread appeal, achieving that ideal texture can sometimes feel like a culinary challenge. That's precisely why this oven-steaming method is so revolutionary for home cooks everywhere. It removes the stress, allowing you to focus on the main course while your rice bakes itself to perfection.
Why Oven Baked Rice is Your New Favorite Method
The allure of oven baked rice lies in its sheer simplicity and reliability. Unlike stovetop methods that demand precise heat regulation and constant monitoring to prevent sticking or boiling over, baking rice in the oven is a "set it and forget it" affair. The covered baking dish creates a consistently steamy environment, mimicking the ideal conditions of a rice cooker but utilizing an appliance you already have. This consistent, indirect heat ensures that each grain cooks evenly without the risk of scorching on the bottom, a common pitfall of direct heat cooking.
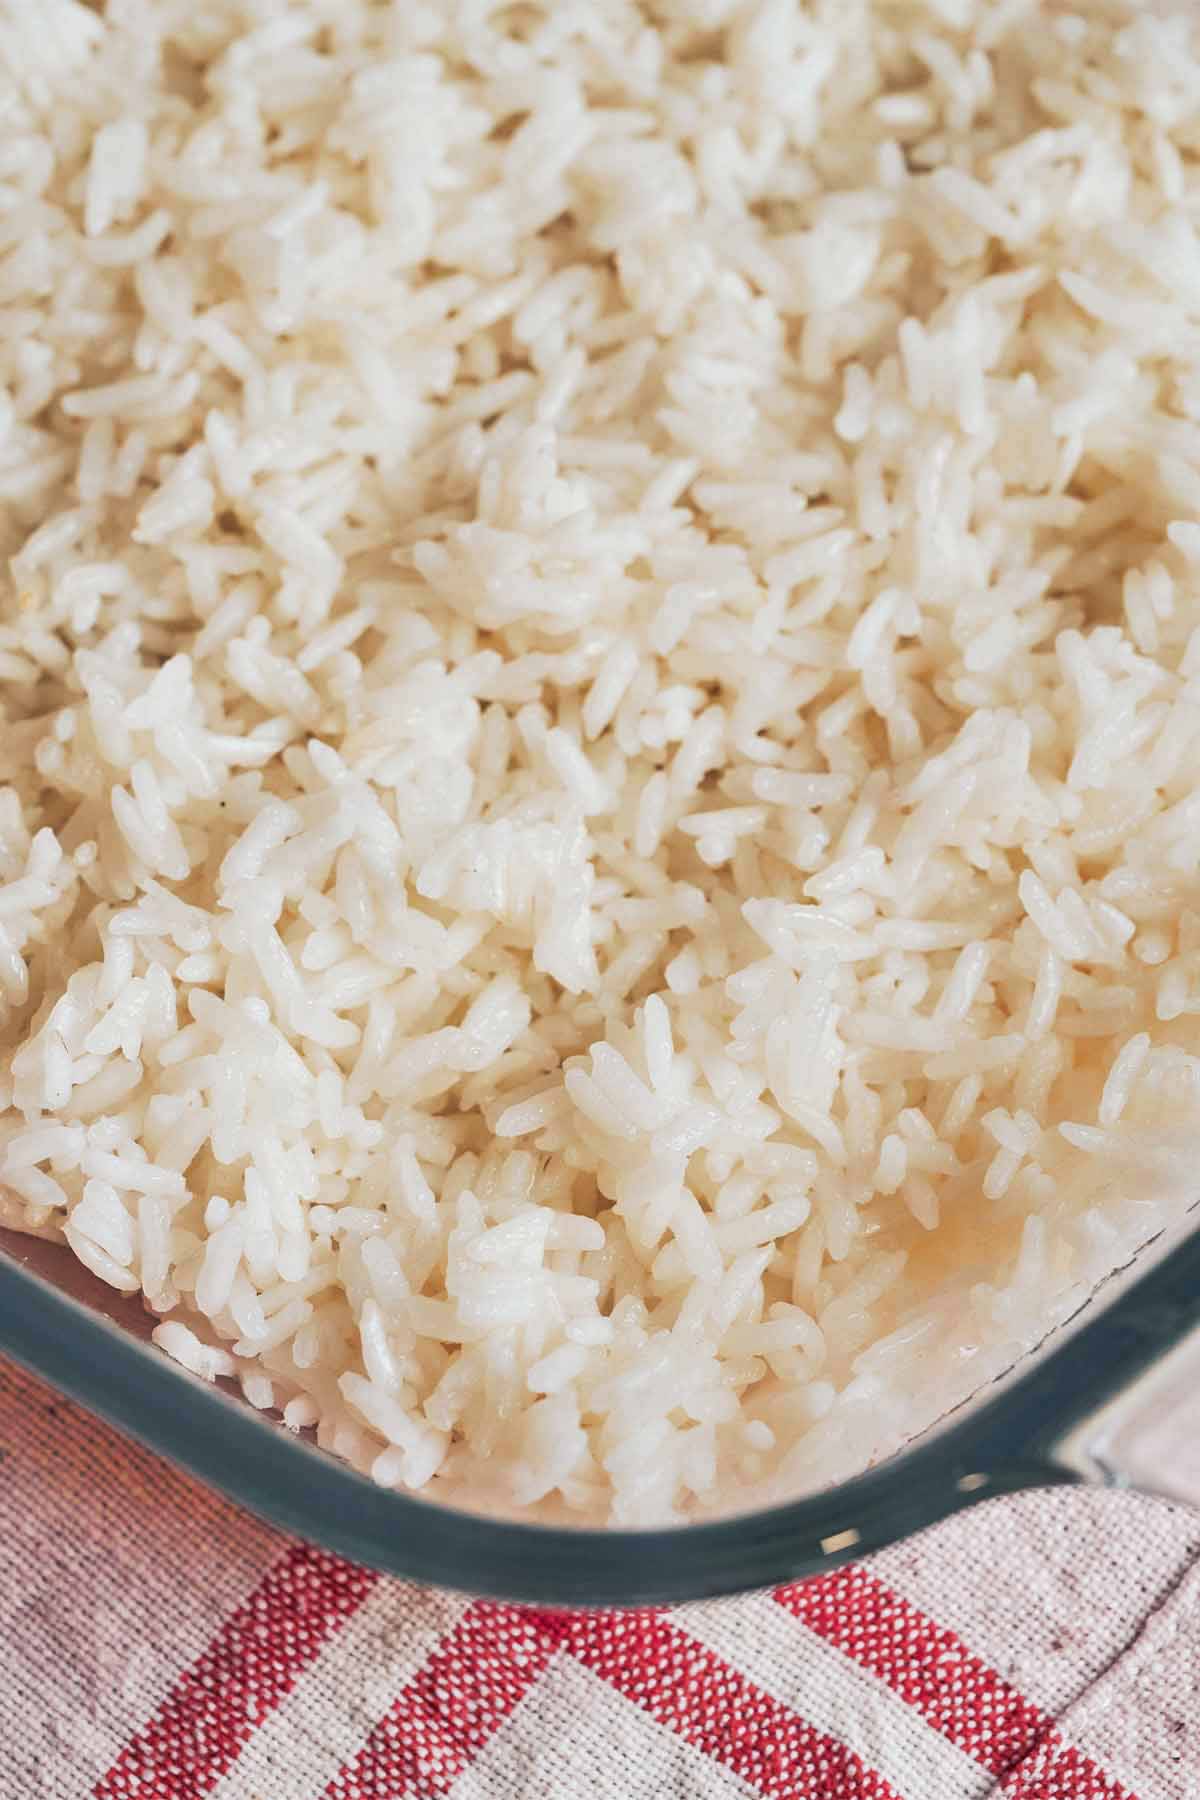
This method isn't just about ease; it's about consistency. You'll achieve beautifully separated, fluffy grains that are tender without being mushy. This makes it an invaluable technique for busy weeknights when you need reliable results without added stress. Imagine hosting a dinner party and having one less thing to juggle on the stove! Moreover, it's incredibly versatile. Once you master the basic technique, you can easily adapt it with different broths, herbs, and spices to complement any cuisine. For more details on achieving perfectly fluffy grains, check out our guide on
Foolproof Oven Baked Rice: Easy Recipe for Perfectly Fluffy Grains.
The Simple Ingredients for Your Oven Baked Rice
One of the most appealing aspects of this method is its minimalist ingredient list. You only need four basic items to create a truly delicious and fluffy batch of rice. Quality ingredients, even in their simplicity, make a significant difference.
*
Uncooked Dry Rice: Two cups of long-grain white rice are the standard here. Varieties like Ben’s Original or other similar brands work wonderfully. Long-grain rice is preferred for its tendency to cook up light and separate, rather than clumping. While we’ll discuss variations later, starting with long-grain white rice is ideal for mastering the technique.
*
Water: Four cups of boiling water are crucial. The initial boiling water jump-starts the cooking process and helps maintain the oven’s temperature, ensuring an even cook from the moment it enters the oven. Using already hot water significantly reduces the overall baking time and ensures consistency.
*
Butter: A tablespoon of salted or unsalted butter (your preference!) adds a subtle richness and helps prevent the rice from sticking, contributing to that desirable fluffy texture. It imparts a delicate flavor that enhances the natural taste of the rice.
*
Seasoning: One teaspoon of salt is generally sufficient to season two cups of rice, bringing out its natural flavor without overpowering it. You can adjust this to your taste or dietary needs.
Your Step-by-Step Guide to Perfect Oven Baked Rice
Mastering oven baked rice is incredibly straightforward. Follow these simple steps for a consistently excellent result:
1.
Preheat Your Oven: Start by preheating your oven to 350°F (175°C). This ensures that when your dish goes in, it’s met with consistent heat, crucial for even cooking.
2.
Prepare Your Rice: In a 3-quart Dutch oven with a lid, or a similarly sized 13x9-inch baking dish (covered tightly with heavy-duty aluminum foil if it lacks a lid), pour in your two cups of uncooked long-grain white rice and add the one teaspoon of salt. Stir briefly to distribute the salt.
3.
Boil and Melt: On your stovetop, bring four cups of water to a rolling boil in a saucepan or kettle. Once boiling, remove from heat and stir in the tablespoon of butter until it's completely melted. This ensures the butter is evenly dispersed throughout the rice mixture.
4.
Combine Ingredients: Carefully pour the boiling water and melted butter mixture over the rice and salt in your baking dish. Give it a gentle stir to ensure all the rice is submerged and evenly combined. Avoid over-stirring, which can break down the starch and lead to mushy rice.
5.
Oven Bake: Cover your baking dish tightly. If using a Dutch oven, ensure the lid fits snugly. If using a baking dish without a lid, seal it completely with a double layer of heavy-duty aluminum foil. This tight seal is paramount for trapping the steam, which is how the rice cooks to perfection. Bake for approximately 30-35 minutes. You can check it around the 30-minute mark; if most of the liquid is absorbed and the rice is tender, it’s ready.
6.
Let Stand: Once removed from the oven, resist the urge to immediately uncover it. Let the covered dish stand on your countertop for an additional 5 minutes. This crucial resting period allows the remaining steam to absorb fully into the rice grains, resulting in a fluffier, more distinct texture.
7.
Fluff and Serve: Finally, remove the lid or foil. Using a fork, gently fluff the rice to separate the grains. Serve immediately as a delightful and versatile side dish. For a simple 4-ingredient method, you can also check out
How To Make Fluffy Oven Baked Rice: Simple 4-Ingredient Method.
Essential Tools for Your Oven Baked Rice Success
Having the right tools makes any cooking process smoother. For oven baked rice, you'll need just a few basic kitchen items:
*
A 3-Quart Dutch Oven with a Lid: This is the ideal vessel. Its heavy construction and snug-fitting lid create the perfect environment for even heat distribution and steam retention.
*
Alternatively, a 13x9-inch Baking Dish or Pan: If you don't have a Dutch oven, a standard baking dish of this size works perfectly. Just ensure you have heavy-duty aluminum foil to create a tight seal in place of a lid.
*
Measuring Cups and Spoons: Accuracy in rice-to-liquid ratios is key for success.
*
A Large Spoon: For stirring the rice and liquid before baking.
*
A Fork: Essential for fluffing the rice after it has cooked and rested.
Beyond the Basics: Tips, Variations, and Troubleshooting
While the core recipe is incredibly simple, the beauty of oven baked rice lies in its adaptability. Here’s how you can elevate and customize your rice:
Ingredient Substitutions and Flavor Boosters
*
Stock Instead of Water: For a richer flavor profile, substitute chicken stock, vegetable broth, or even beef broth for the water. Low-sodium varieties are often best to control the saltiness. This instantly adds depth and complexity.
*
Different Rice Varieties: The oven baking method is primarily designed for long-grain white rice, but you can adapt it for other types.
*
Basmati or Jasmine Rice: These aromatic long-grain varieties often require slightly less water (a 1:1.5 or 1:1.75 rice-to-water ratio) and may cook a few minutes faster. Start with the standard recipe and adjust as needed.
*
Brown Rice: Brown rice requires more liquid (typically a 1:2.25 or 1:2.5 ratio) and a longer baking time (around 45-60 minutes) due to its bran layer. You might also consider soaking brown rice for 30 minutes before baking to reduce cooking time. Always check for tenderness.
*
Extra Flavorings:
*
Aromatics: Sauté minced garlic, shallots, or finely diced onions in a little butter before adding the rice and liquid for a savory base.
*
Herbs and Spices: Stir in a bay leaf, a pinch of saffron for color and aroma, a dash of paprika, or dried herbs like thyme or oregano along with the liquid.
*
Citrus Zest: A touch of lemon or lime zest added at the end can brighten the flavor.
*
Vinegar: A splash of white vinegar (as some recipes suggest) can add a subtle tang and help separate the grains.
Equipment Alternatives and Adjustments
*
Tight Seal is Key: Regardless of your chosen dish, a truly tight seal is non-negotiable. If your lid isn't snug, reinforce it with heavy-duty aluminum foil. Steam is your cooking agent; if it escapes, your rice will be dry and undercooked.
*
Scaling the Recipe: This recipe is easily adaptable. You can halve the ingredients for a smaller serving (use a smaller dish) or double them for a crowd (use a larger baking dish, like a 9x13-inch for a double batch). Maintain the same rice-to-liquid ratio.
Common Troubleshooting
*
Rice is Mushy: This typically means too much liquid or the lid wasn't sealed tightly enough, allowing steam to escape and then condense back into the rice. Over-stirring can also release too much starch. Next time, try slightly reducing the liquid or ensuring a tighter seal.
*
Rice is Dry/Undercooked: This is usually a sign of not enough liquid, a loose lid that allowed too much steam to escape, or insufficient baking time. Ensure your measurements are accurate and your dish is tightly sealed. If it’s still dry but cooked, you can often add a splash of boiling water, cover, and let it rest for a few more minutes.
*
Stuck to the Bottom: This is less common with oven baking but can happen if the heat is too high or the dish is too small for the amount of rice, causing some parts to dry out. Ensure even heat and the proper dish size. The butter also helps prevent sticking.
By understanding these nuances, you can confidently experiment and make this oven baked rice recipe truly your own.
Conclusion
The journey to perfect rice doesn't have to be fraught with uncertainty. Embracing the
oven baked rice method unlocks a world of convenience, consistency, and culinary satisfaction. With just four simple ingredients and a hands-off approach, you can achieve beautifully fluffy, tender grains every single time, freeing you from the stovetop and elevating your meal prep. Whether you’re a seasoned cook or a kitchen novice, this foolproof technique is a game-changer that promises effortless perfection. So, preheat your oven, gather your ingredients, and prepare to discover your new favorite way to cook rice. Your taste buds, and your busy schedule, will thank you.